
Oil paints have been a part of my tool kit since the earliest days of my miniature painting journey. My first tubes (which I still own) were originally purchased in the 1980s to be used for the purposes of weathering and pin-washes and such. It’s why I still own them. Doing this kind of work uses very little actual paint.
When I started my attempt at finally getting an art degree one of the things I knew I wanted to do was to try traditional oil painting. That’s getting close to happening now and with that in mind I decided that it wouldn’t be a bad idea to try some experiments using oil paints on minis - not just as weathering but as the primary coloring.
Some months ago I purchased a basic set of oil paints to help fill the holes I have in my current collection which is mainly made up of browns, black and white as well as other random colors I’ve picked up along the way. With that in hand I started my more focused oil-paint journey.
First off, I did what I usually do. Go to YouTube and watch videos on the subject. There’s a bunch and they all impart the same basic information (I assume because they all watched the same videos before getting started as well). One of the earlier lessons was that it was easier to block in basic colors in acrylic and then modify from there will oils. So, that’s what I started doing. One of the nice things about doing this is that you really can get some nice color-pop with oils that you generally don’t get with hobby paint and you don’t need a lot to make this happen. For example, if you have an acrylic red that you want to make really vibrant it’s not a lot of work to make that happen with the careful addition of a bright oil-based red.
While this was satisfying it wasn’t the goal. I wanted to try doing all oils on a project and this is the actual subject of this post.
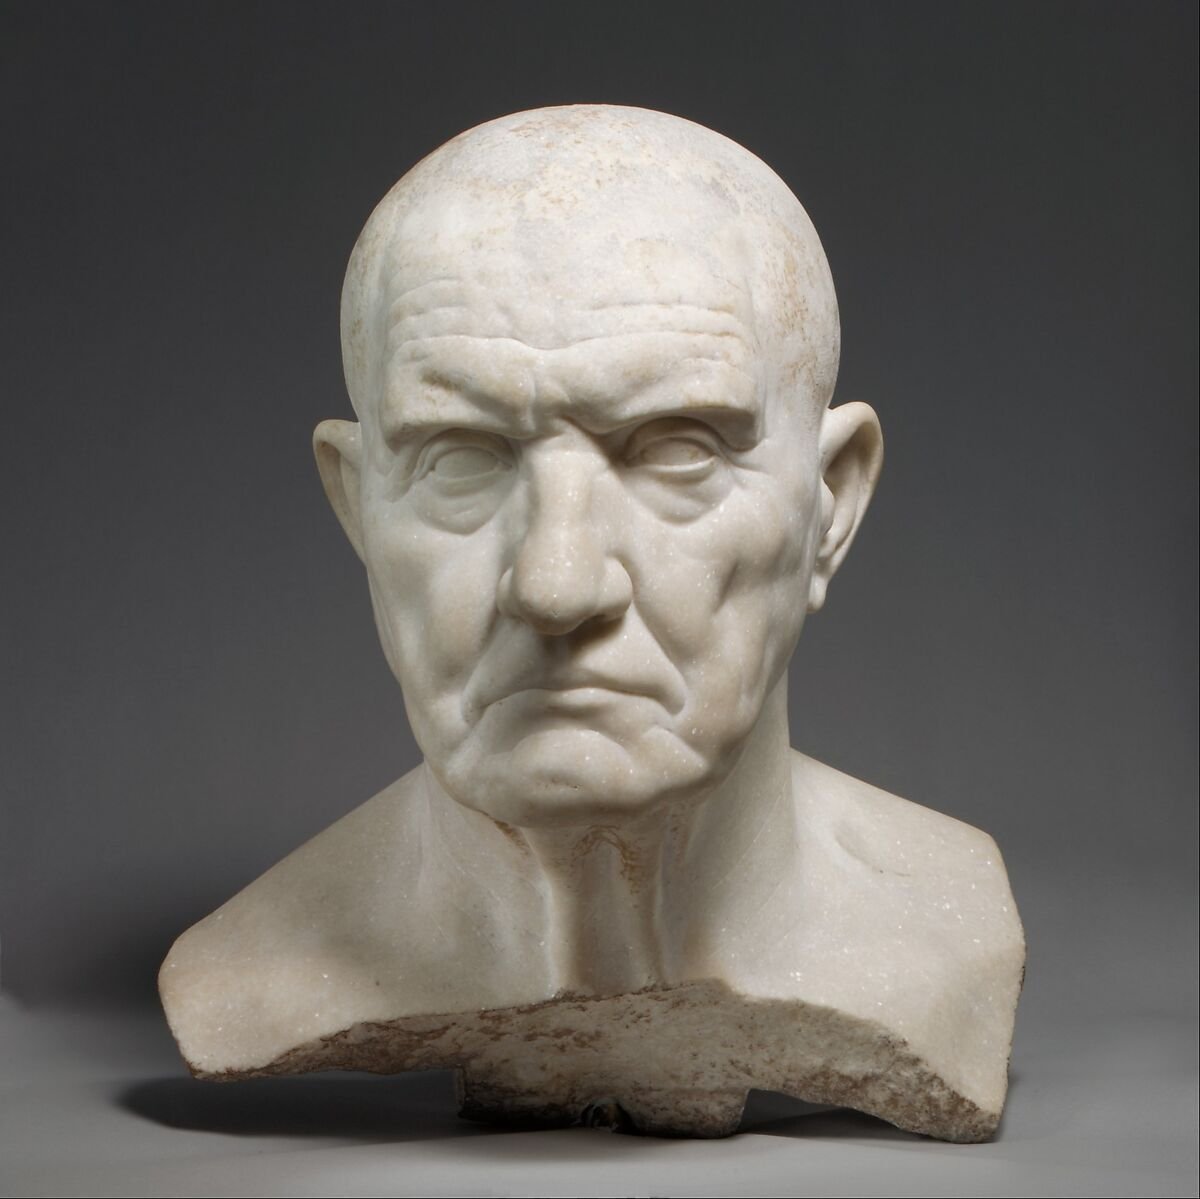
Marble bust of a man - On view at The Met Fifth Avenue
This week I printed out a bust that I’ve painted in the past. It’s a 3D printed 3D scan of an ancient Roman bust. It’s nobody in particular (and the museum that houses it lists it as a “Marble Bust of a Man”). This isn’t an emperor or military leader. Just an old guy. Considering he had a bust commissioned of him he must have been at least a notable citizen but who he was is lost to time. They aren’t even entirely sure when it was done. It’s in the Republican style. The Republican Romans were really into wizened old faces. It could also just be one that was a copy of that style from a later period.
I have long been fascinated by the idea that these brilliant white marble sculptures used to be painted but the folks who were bringing them west scrubbed any remaining paint from them in favor of the clean marble beneath. So for the longest time people assumed that this is the way they were displayed. So adding paint to something like this just feels right to me. It also gives me more appreciation for the sculpt underneath as I watch it come to life with the addition of color.
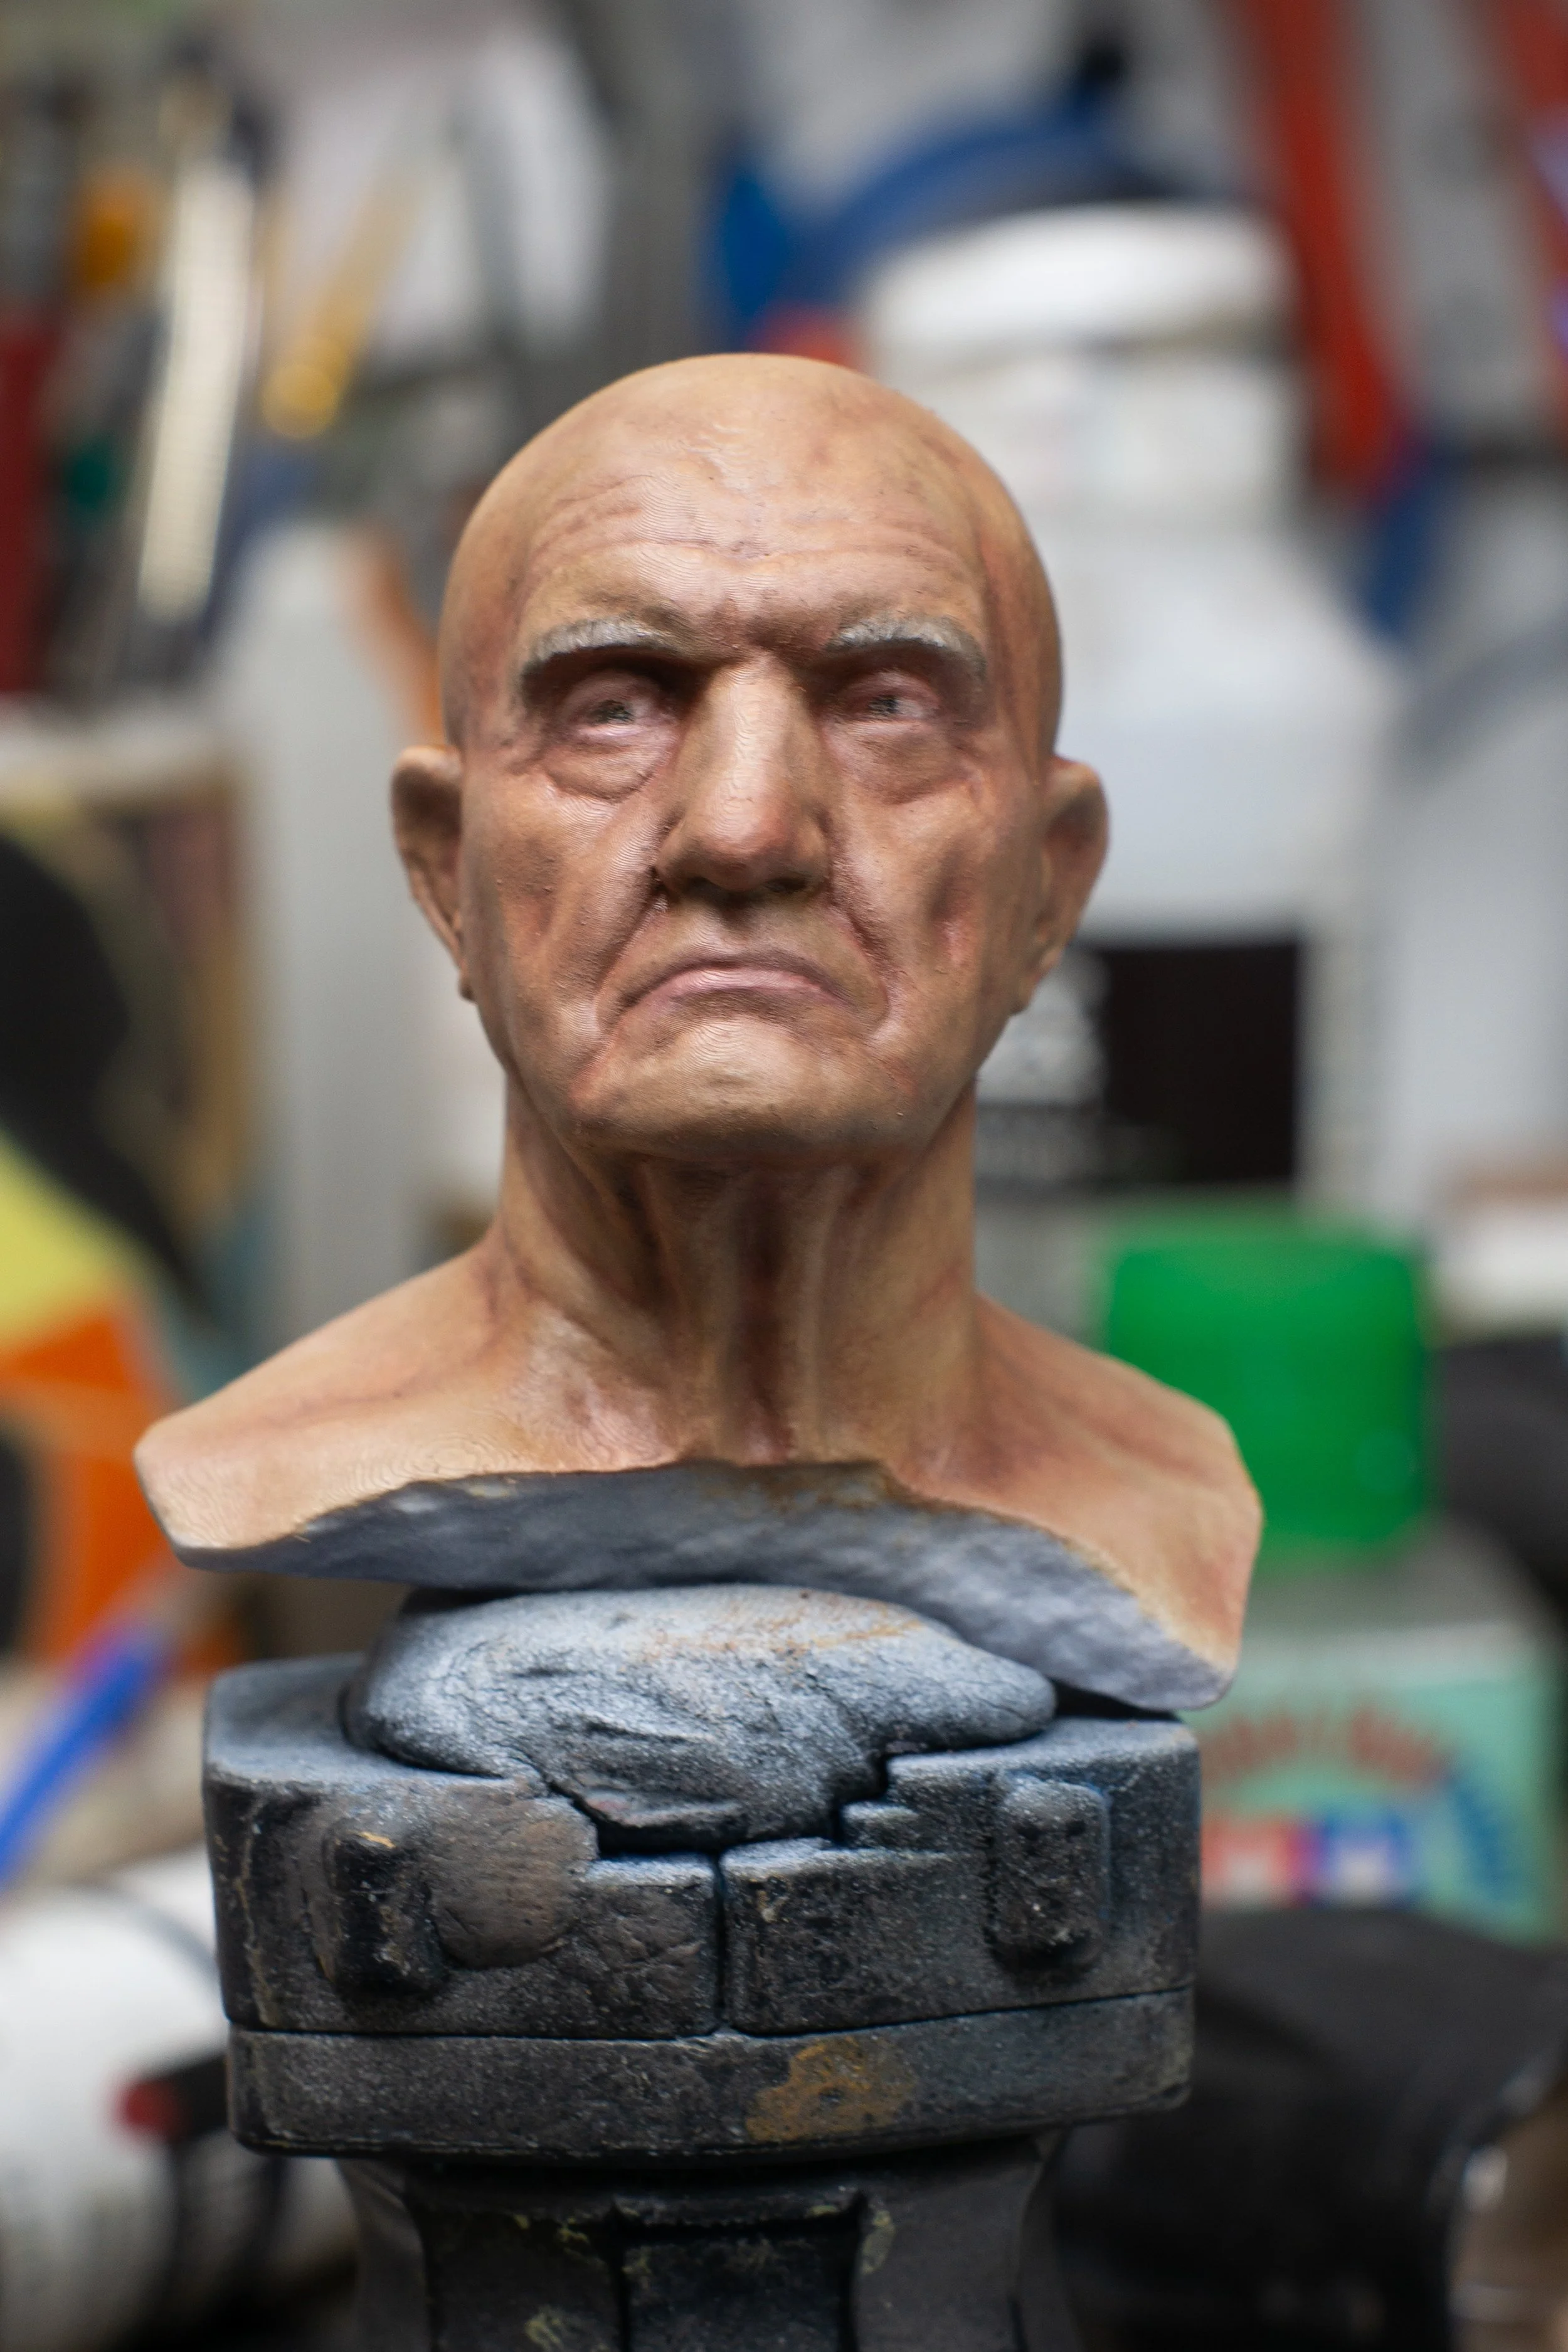
When I say I only used oil paints what I mean is that I used an acrylic primer (white) as the prep for the colors and everything else came from oil paints. The paints I used were the Winsor and Newton Winton Series paint from this starter set. No other paints were used. I also used a bit of Odorless Thinning Medium. The medium is nice when you want to make sure that the paints really flow and a little goes a long way. It’s also supposed to help speed curing time for the paint.
As for the specific colors, I think I used everything in the set at some point except for the green and the ultramarine blue. I wish I had photographed the full process but it boils down to this: I mixed up a basic flesh tone, covered the whole bust with that, then added shadows and highlights as needed. And red. a lot of red. I think my initial flesh tone ended up being a lot more yellow than I had intended and so I kept adding either red or a mix of red and burnt umber to warm it up and deepen the tone.
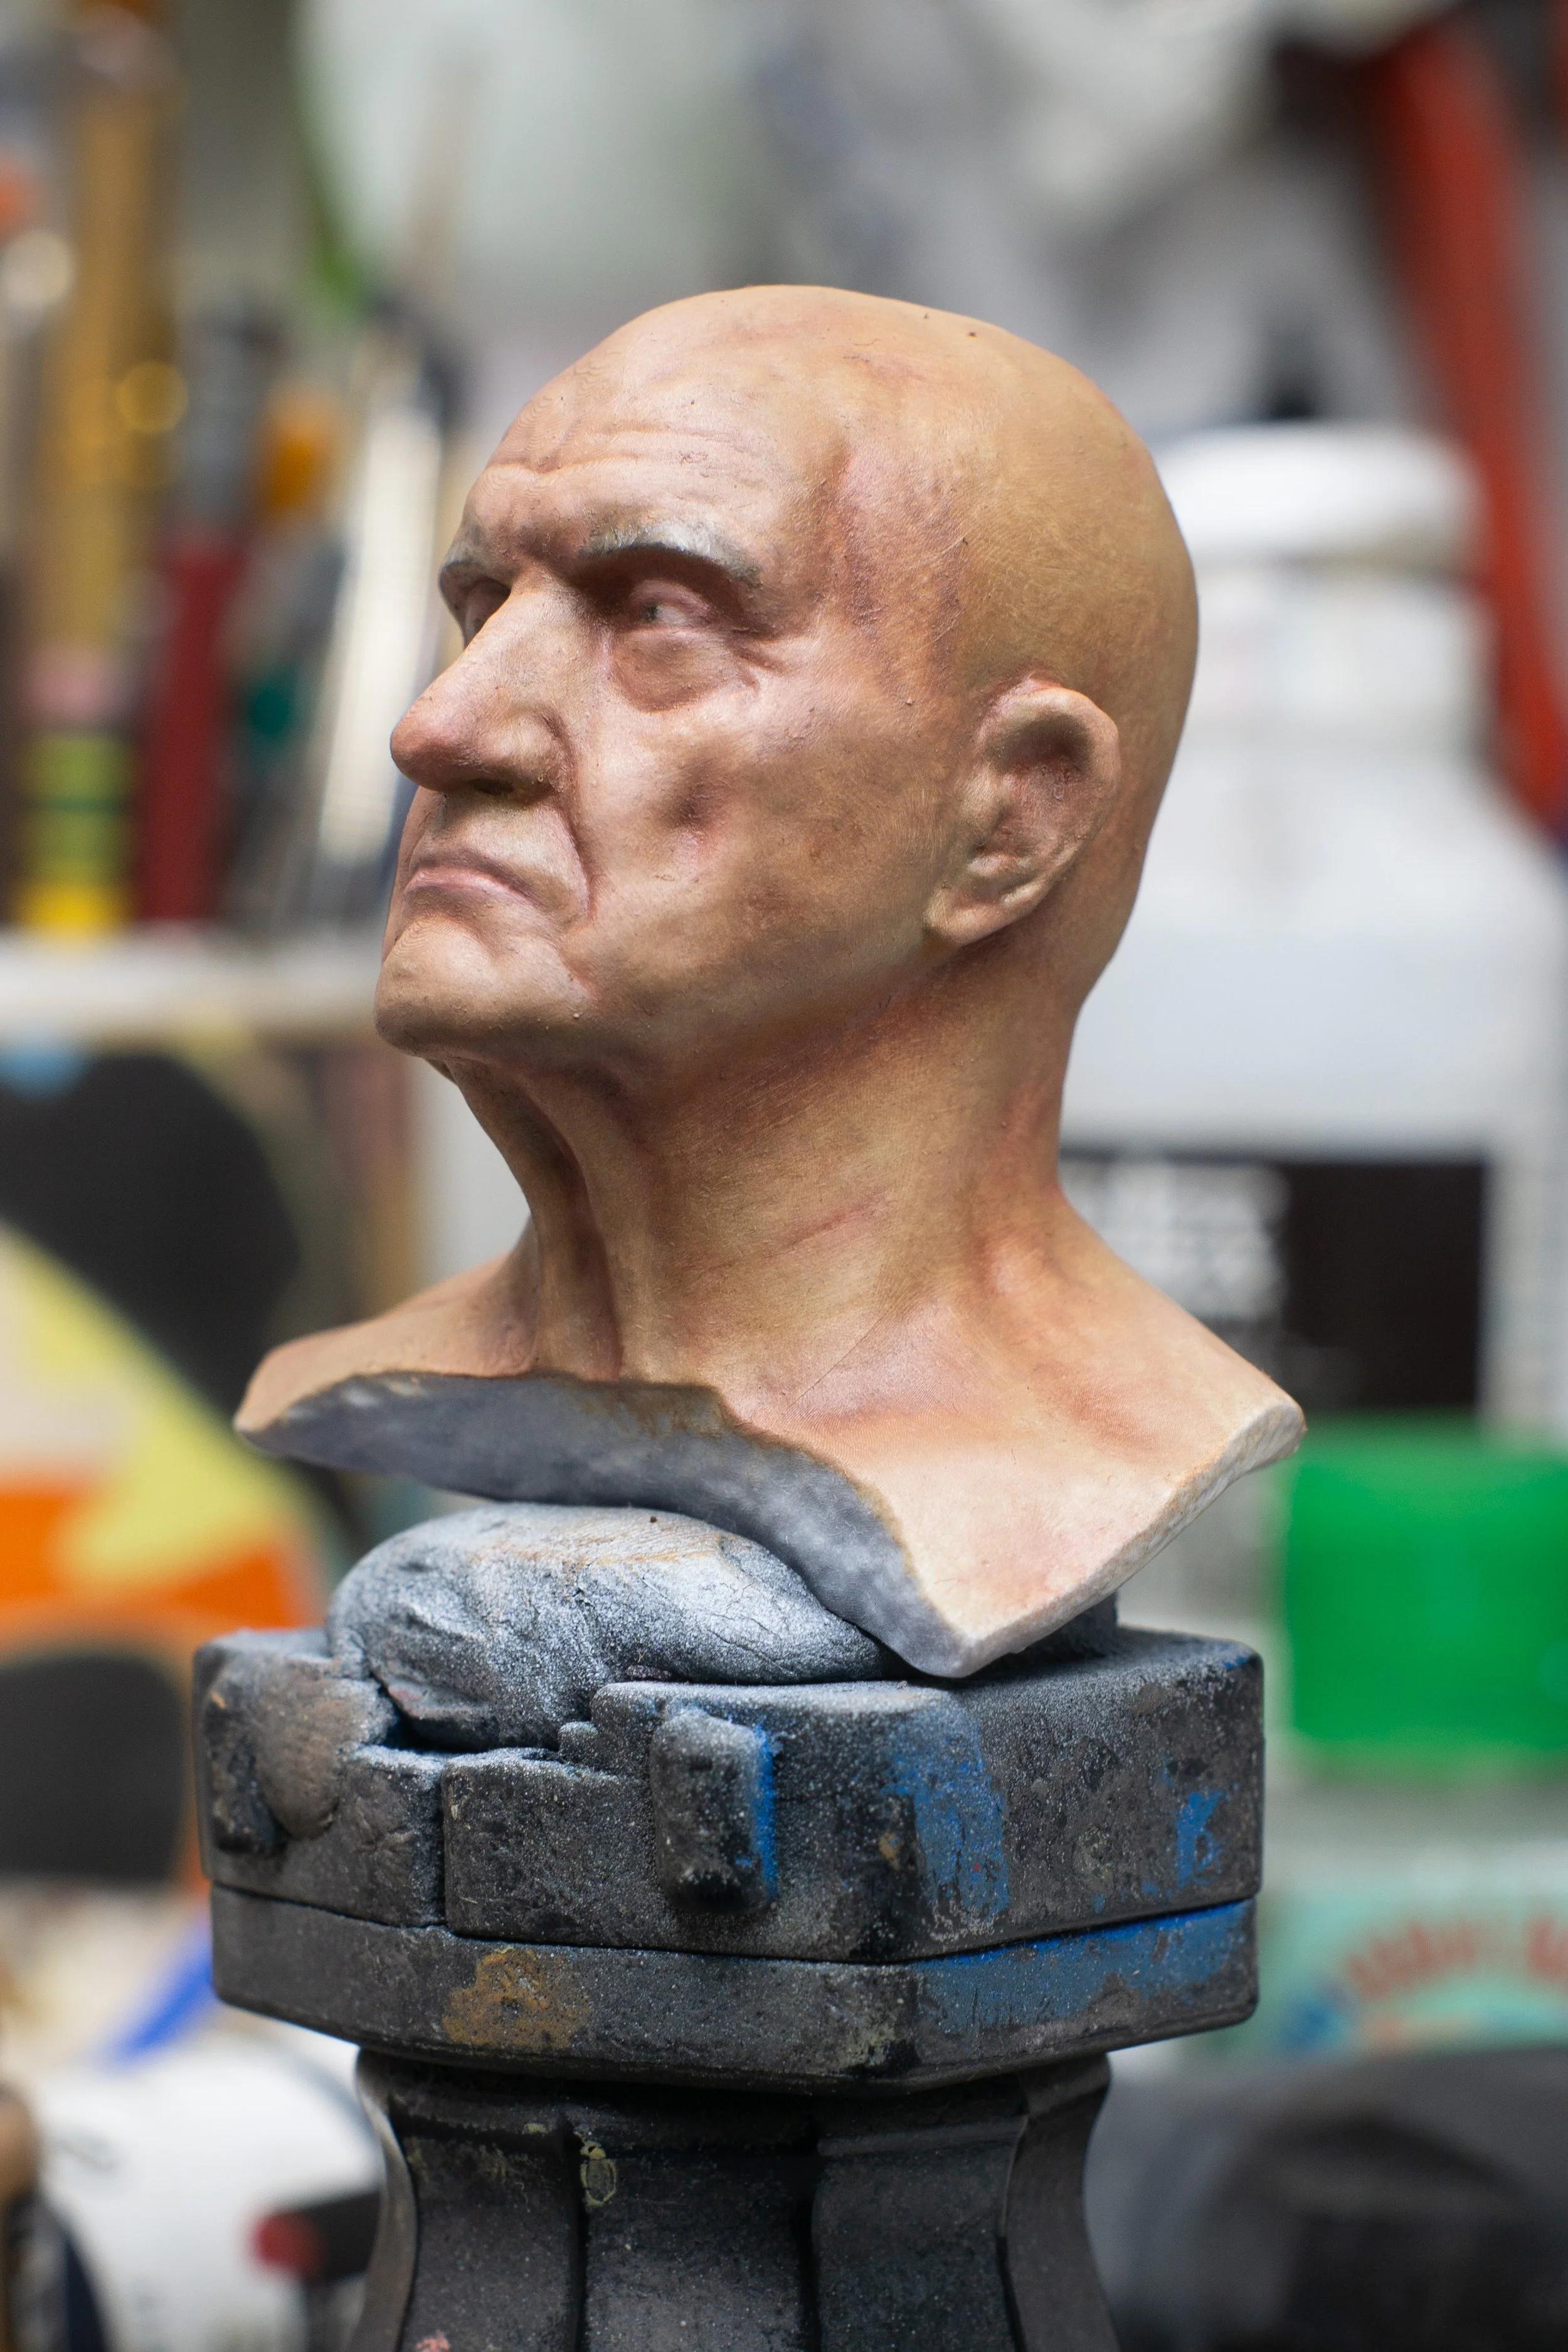
The thing I love about working with these paints is they they are very forgiving. If you make a mistake with acrylics, it can be difficult trying to get that mistake to match the surrounding area of color again. with oils as long as you are applying paint in small amounts you can easily blend away something you don’t like or didn’t really intend and you’re resulting correction will be fine. For me, this was just a very satisfying process of paint, blend, observe, paint, blend, observe. Constantly asking myself if I’m heading in the right direction and, if not, how do I course correct to get there? As I already mentioned that meant adding quite a bit of red.
The ease of blending is the real super-power of oils. Blending acrylics has always been very difficult for me. It’s one of the reason I got good at using an airbrush - because it was easier for me than trying to accomplish that task with a brush. But with oils you would be hard pressed NOT to blend colors together as you’re adding them. Like, if I wanted to apply a tattoo to this guy for some reason I would want to wait until the underlying colors were completely cured if I didn’t want to end up mixing my tattoo color and the flesh tones. Because of this it’s surprisingly easy to blend your colors. If you’ve struggled with blending acrylics like I have you will find this so satisfying. It’s like you finally learned to do blending overnight.
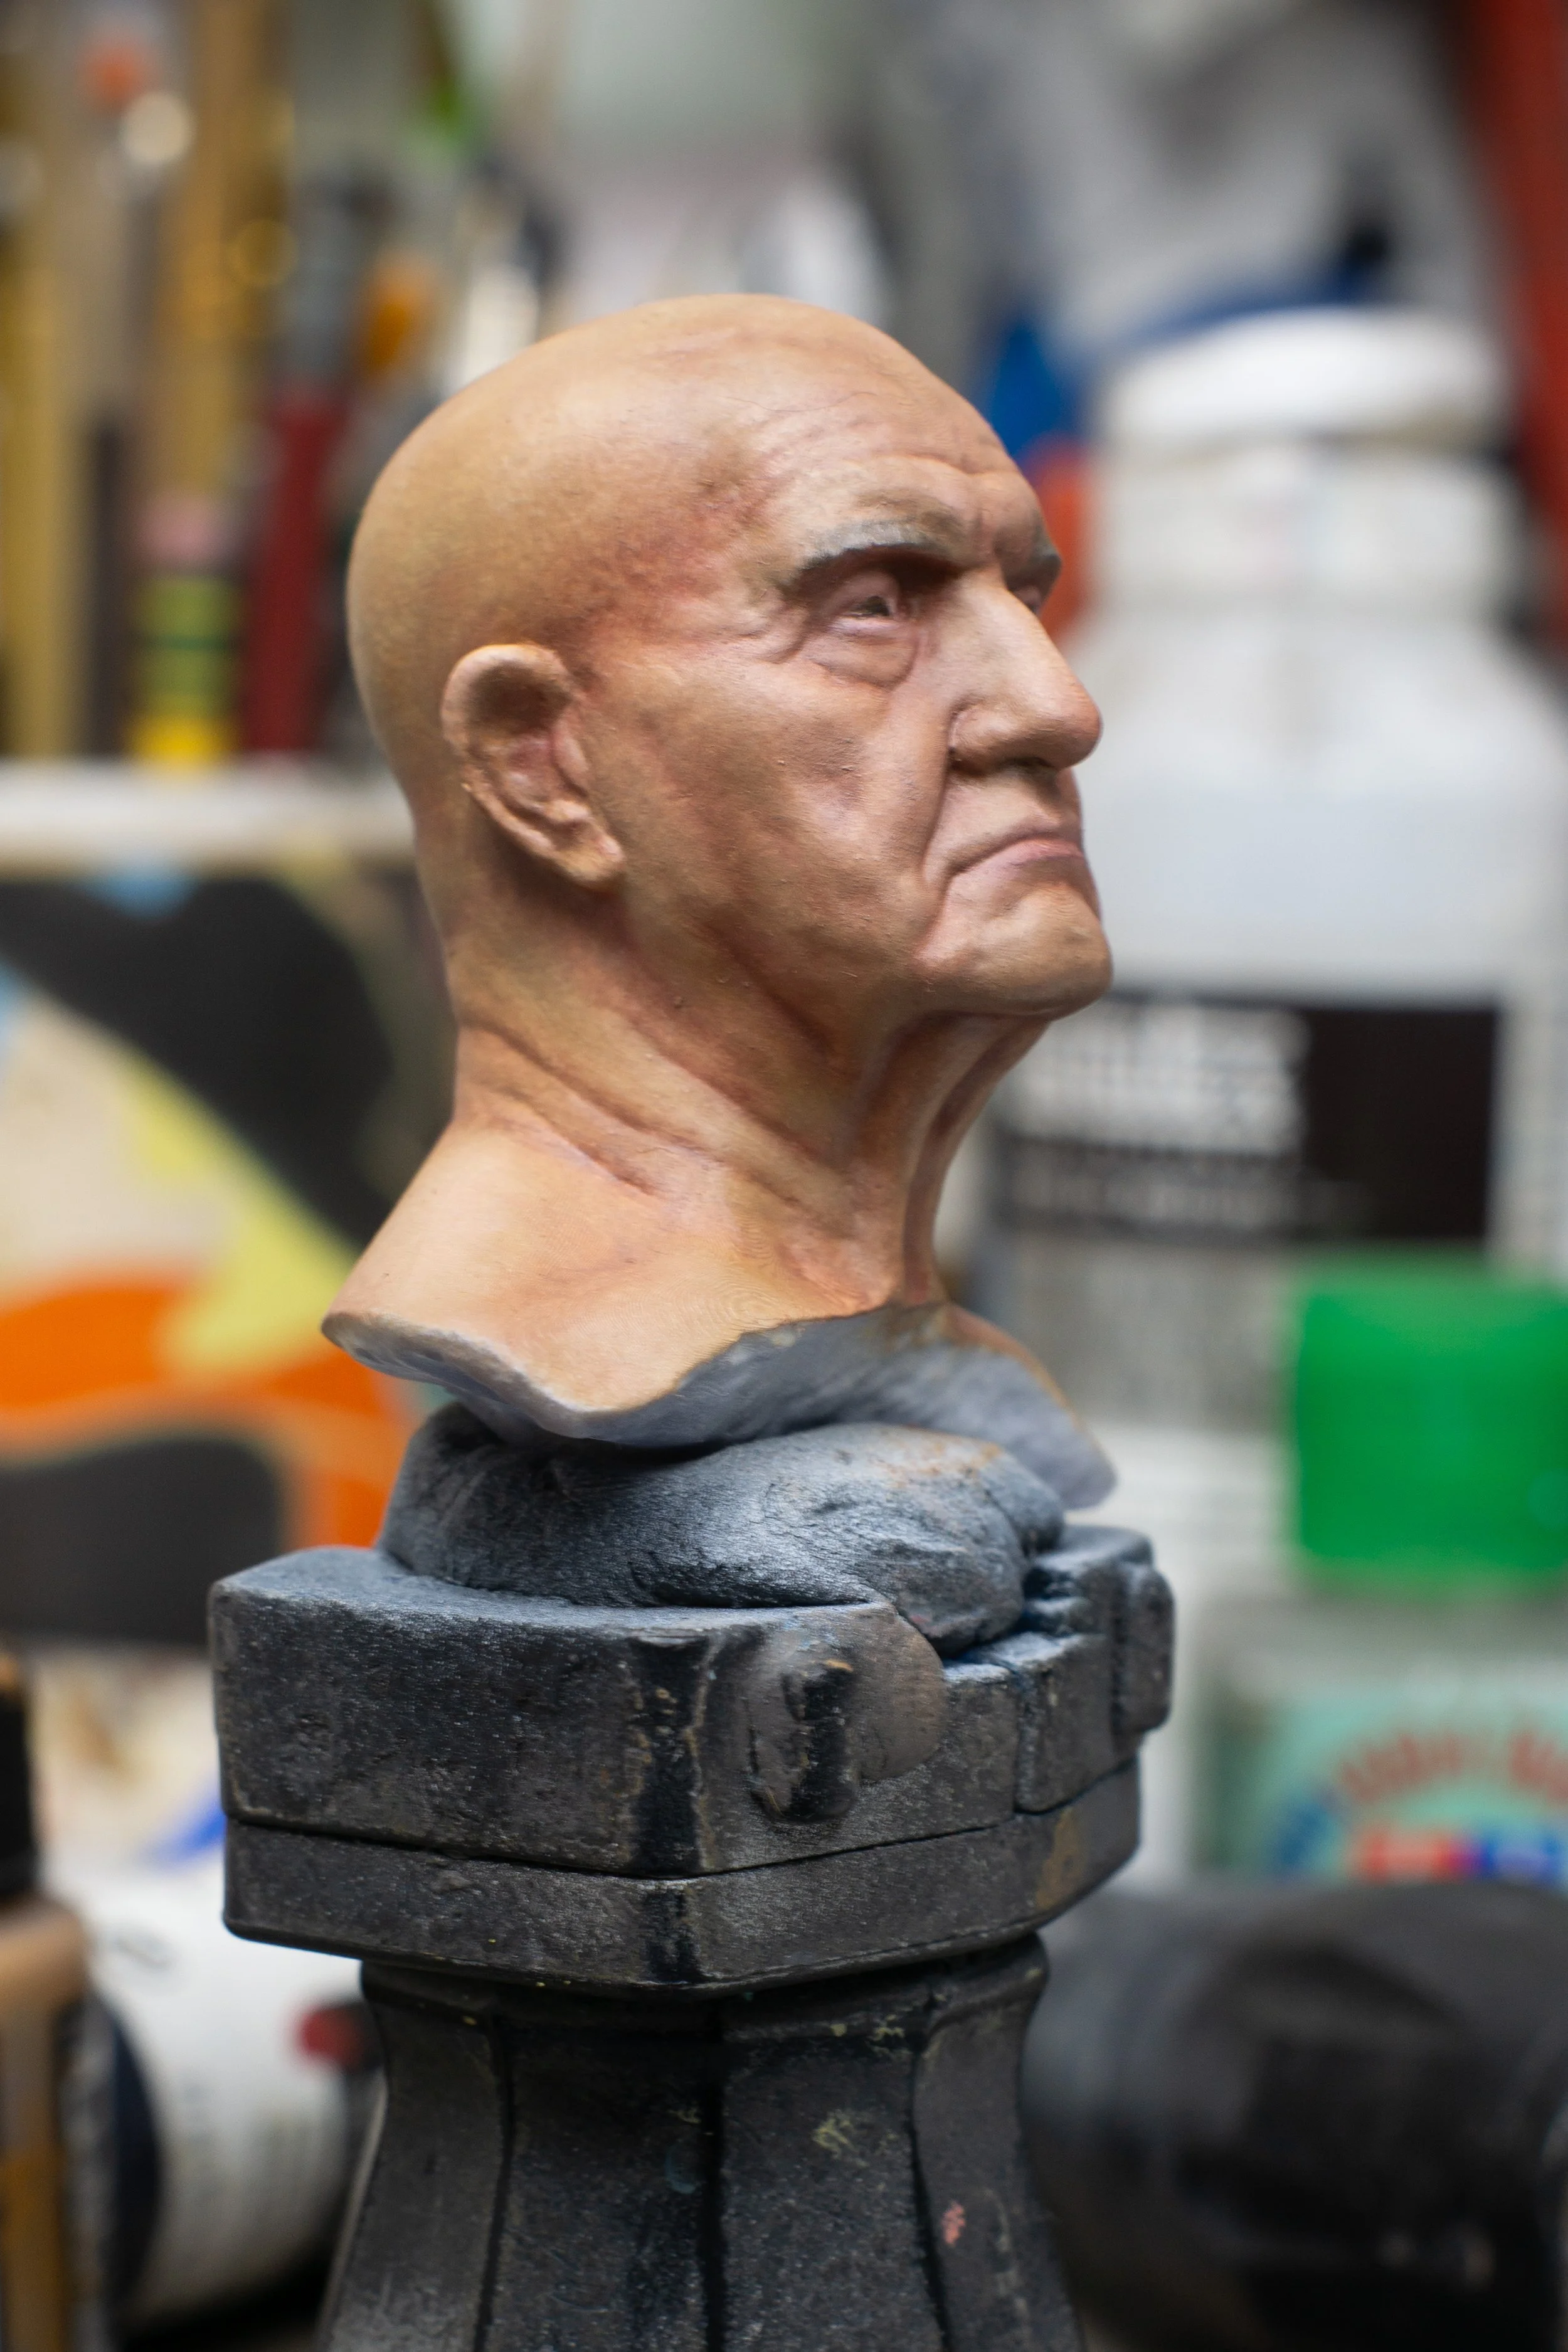
Having read a lot of accounts of people who have tried this I know that not everybody loves the process. It is possible to overwork the colors and end up with something that resembled mud instead of what was intended. To that I would suggest that you work with very small amounts of paint a little at a time. It would be very easy to add too much of a color and create a problem that will be more difficult to fix. Also, don’t panic. You can always remove the paint if needed. Hopefully it won’t be needed.
I haven’t mentioned the tools I used yet and you might find that helpful. Mostly I used cheap nylon brushes. Flats were good for broad coloring and some blending. Round brushed are good for more targeted coloring and also blending. I also used some soft makeup-style brushes for later blending when I was trying to make sure that any existing blush marks got smoothed out. A lot of tutorials suggest makeup sponges for this and I even have some that I have used in the past but when I started this project I totally forgot about them and so they were not used. If I had remembered them I would have used them but I don’t regret not doing it.
So now that I’ve done this will I be abandoning acrylic paint? Absolutely not. I LOVE the results I got wit this project but most of what I do needs to be done quickly and I just can’t do this quickly. This took two sessions both of which were several hours long. I also can’t confidently touch this for a couple of days after completion. That’s just too long for most of the stuff that I do. For personal projects I can totally see doing this more. I really want to do more than just flesh tones so I’ll need to find another project to broaden my horizons. I also want to do more versions of this specific bust and experiment with different flesh tones both realistic and fanciful just as a way to experiment with the paint in general.