

I had all sorts of plans for what I thought I would do with my 3D printer when I bought it but what it seems like I've mainly done with it is to start a new hobby for myself. Sci-Fi prop gun modeling.
My latest foray into this hobby was something that I ran across on Thingiverse (which is where I get most of my gun models). The creator of this piece actually has a few 40K-related items. This is merely the latest.

What I really liked about this model is that the designer made a point to stick to the original design as seen on the models. I would not be surprised to find that he has taken all of the measurements off of one of the mini bitz and scaled it up. Of course, that's not all he did. I really appreciate the fact that he broke out a lot of the elements of the gun to be separate pieces or assemblies. So many of these models are essentially just solid blocks with all of the detail built in with creates a couple of problems. First, trying to sand a model with a lot of surface detail is a real pain and creates issues where you can easily damage that surface detail. Additionally, sometimes there are good ways to orient a piece of detail to get the best print and if all of the detail bits are baked in then you can't make the best choice on how to get the most out of those pieces. So seeing that this could come apart made life much easier for finishing.

Finishing was pretty straight forward. As usual, sanding is the biggest task. Since this was my largest 3D printing project so far I decided to use an electric vibrating sander to help speed the process along. This WAS helpful but I quickly discovered that I had to be very careful or the sandpaper would eat right through the ABS that I printed it with. I'm glad I did it, though. Doing this by hand would have taken forever.
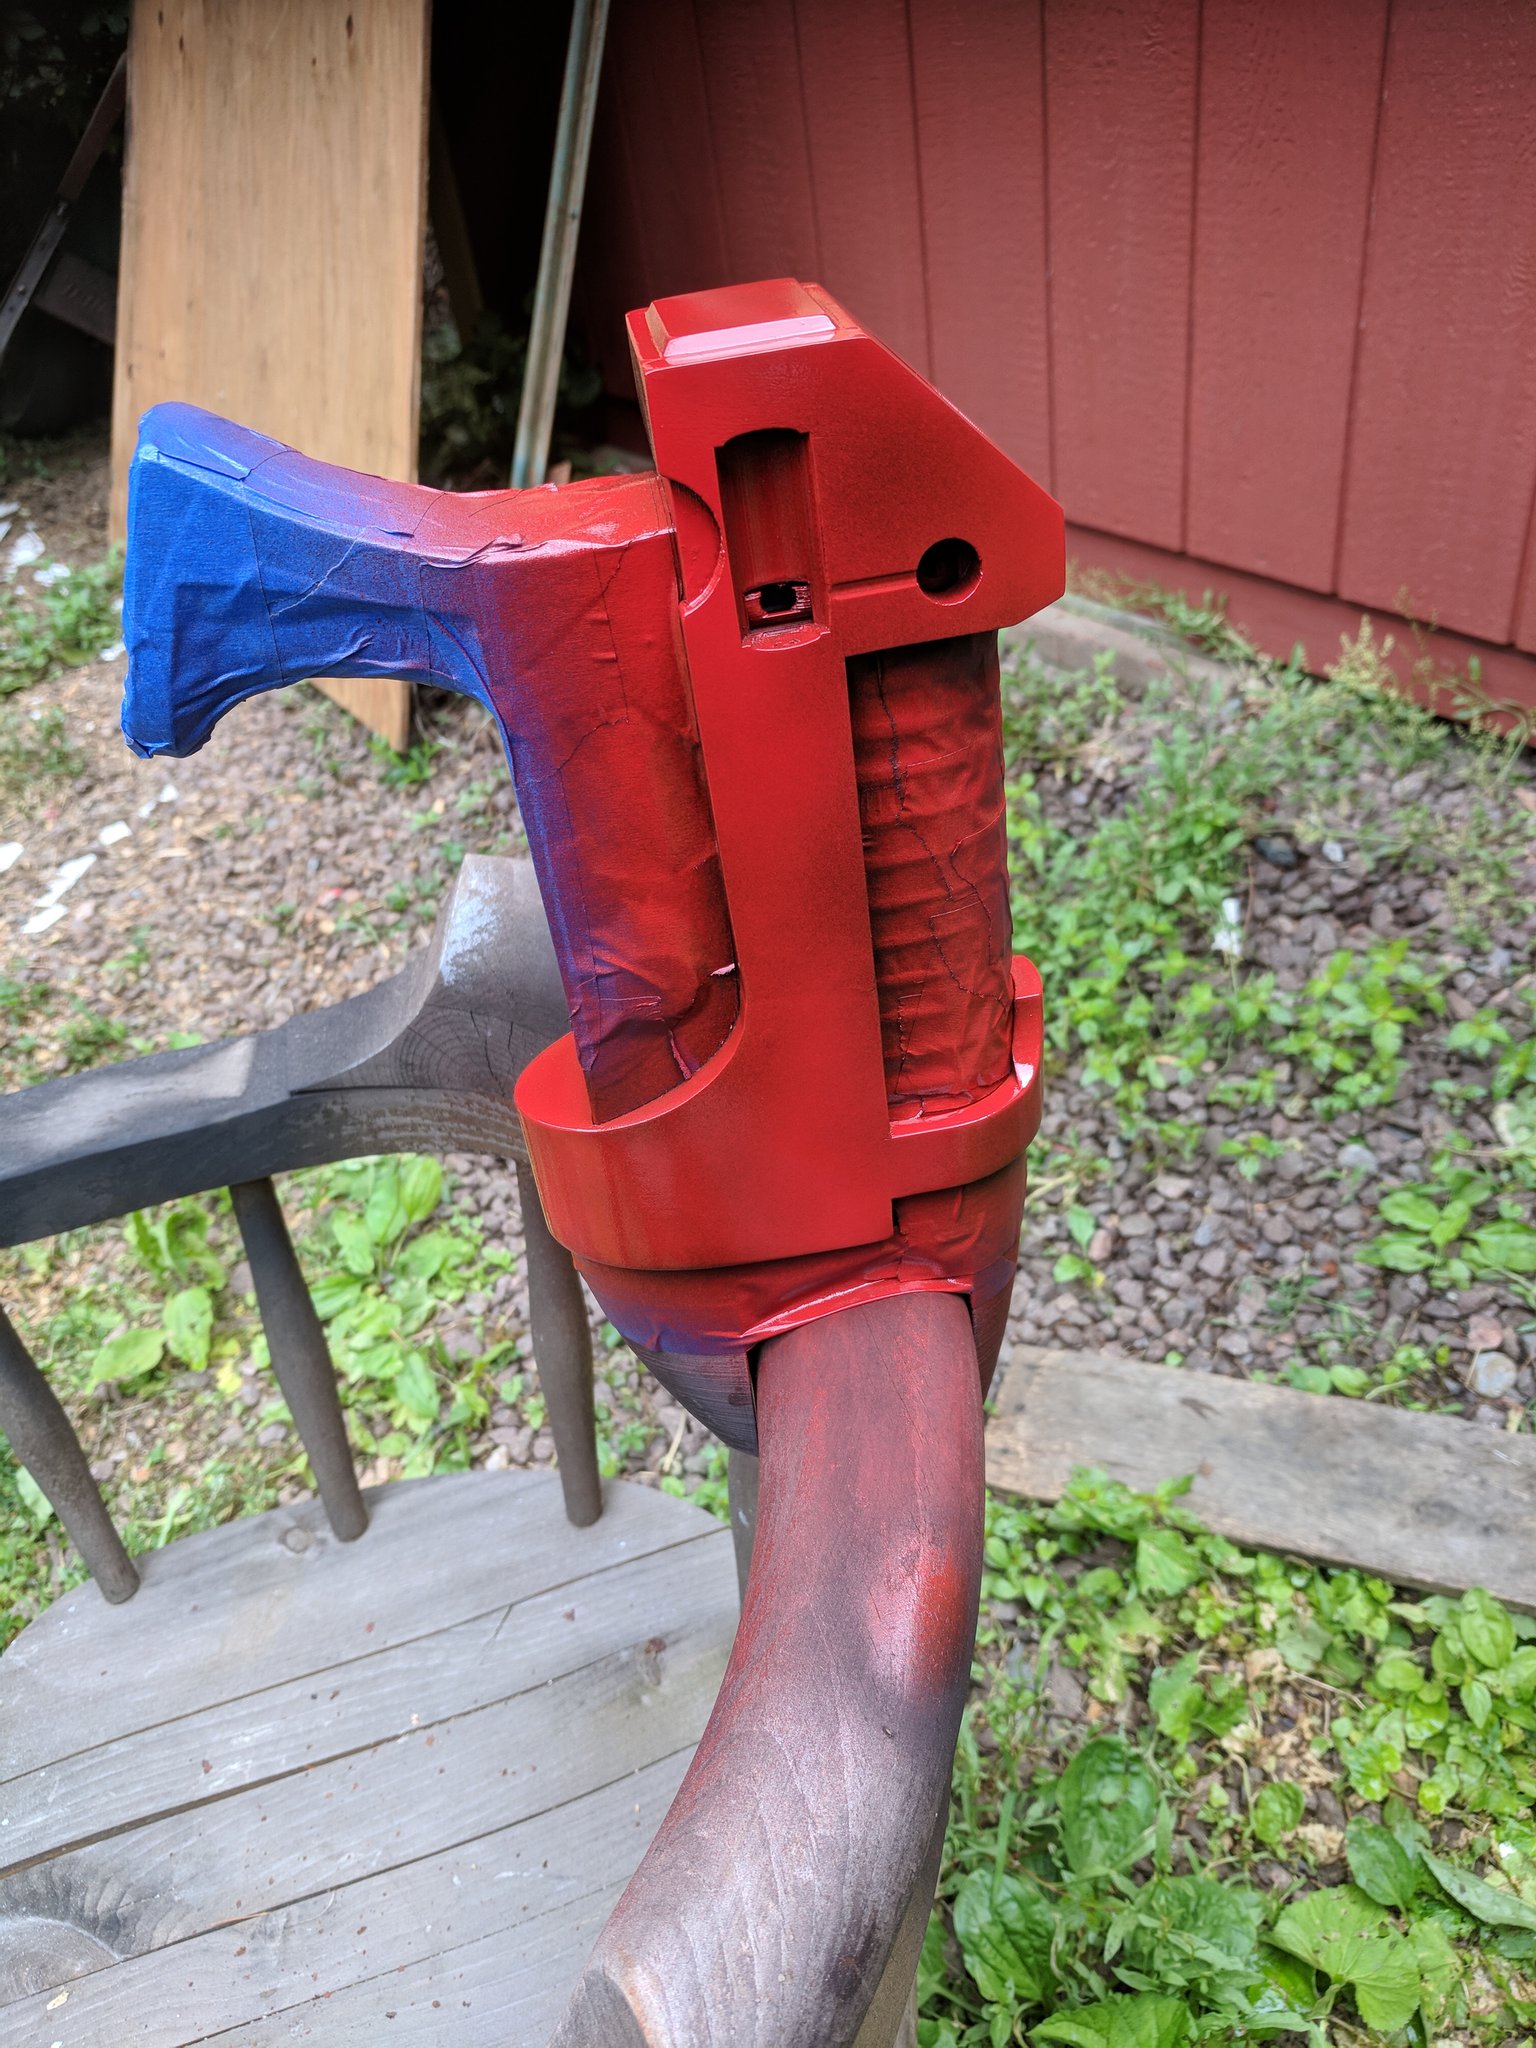
Painting was done in assemblies. The barrels were painted flat black then polished with Rub n' Buff Pewter. The barrel shroud was actually painted with Citadel Leadbelcher and then weathered with black oil paint. The effect is strangely similar to the Rub n Buff. The lower body with painted with Warcolours Black Metallic and then weathered with a bit of drybrushed chrome. The main body was painted with a red rattlecan that I found at the hardware store (it's an amazing red and was thrill to have found it) then weathered with enamel chrome to create dings in the wear-points. The clear coil piece was painted with Warcolours Transparent Blue.
This project was done for myself, but if you find yourself in need of one please feel free to contact me. I could certainly put another one of these on the schedule. There's also enough room in it to do lighting and sound if that was something you wanted to do.


